Merchant SDK flow
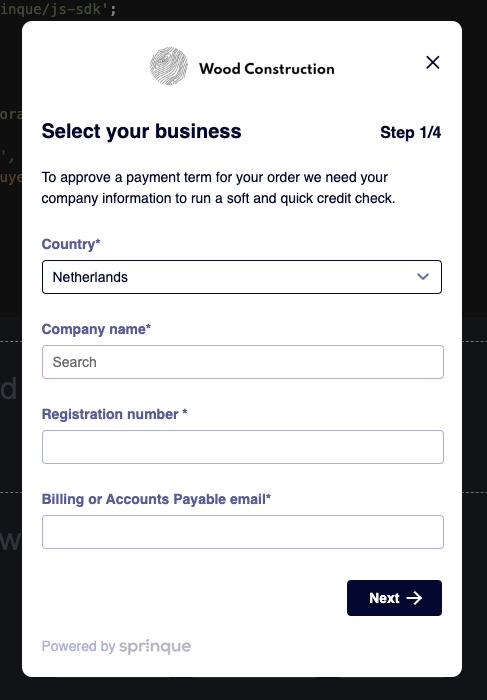
Step 1 - select business
After the open function is called you'll see the first screen to select Country, Company name, and Billing or Accounts Payable email. SDK is calling Sprinque Search API and prefilling the registration number.
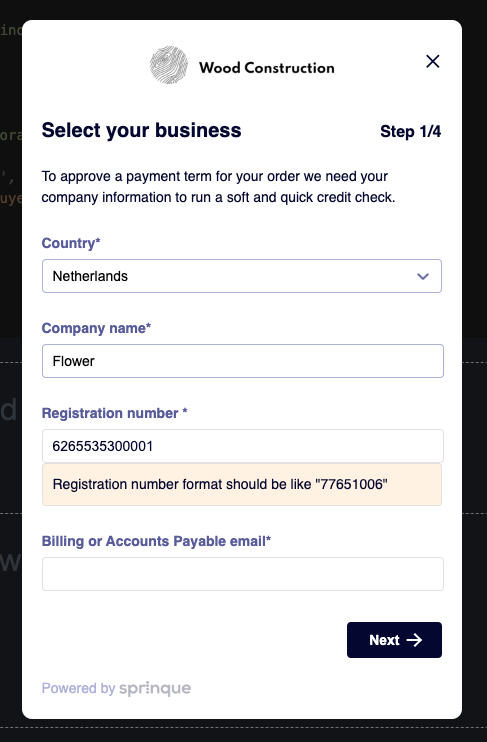
The registration number is a required field (except for Germany and Austria), so we display warnings in case of invalid input.
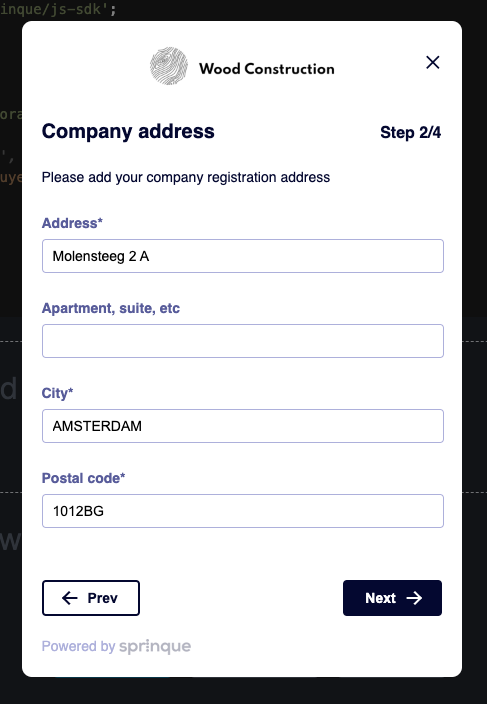
Step 2 - confirm address
Confirm the company address (usually it's prefilled automatically).
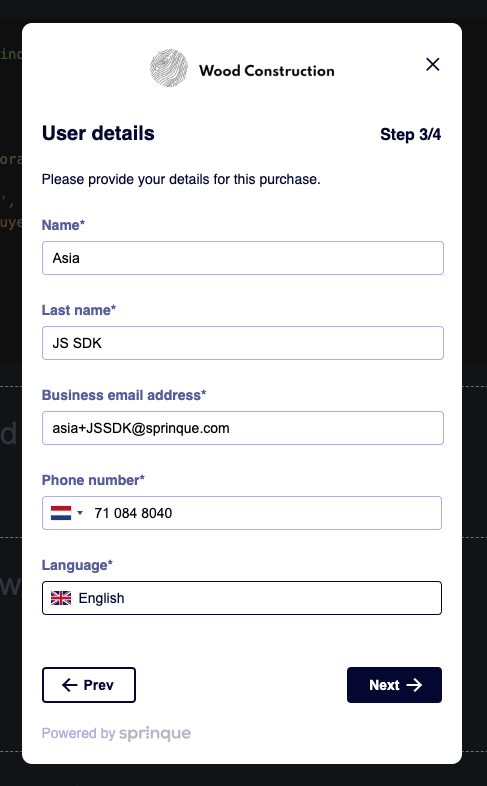
Step 3 - add user
Please fill in information about the business buyer user. Payment reminders will be sent to this email as well. Also, we will use this email for OTP verification. Language for buyer communications can be selected.
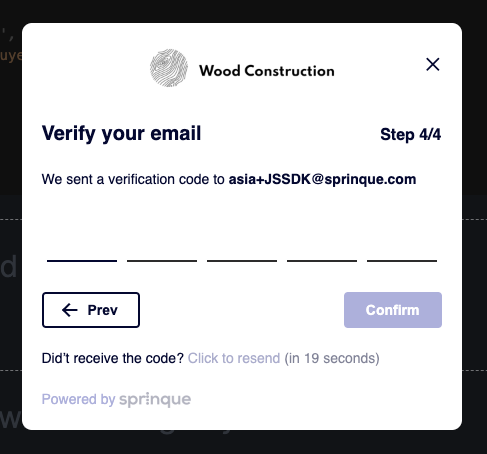
Step 4 - verify email
At this moment the buyer company is registered.
If the email was not verified for this user we show this step.
To make sure you are owning the email you are using and prevent fraud, we ask for OTP (one-time password) to verify your email.
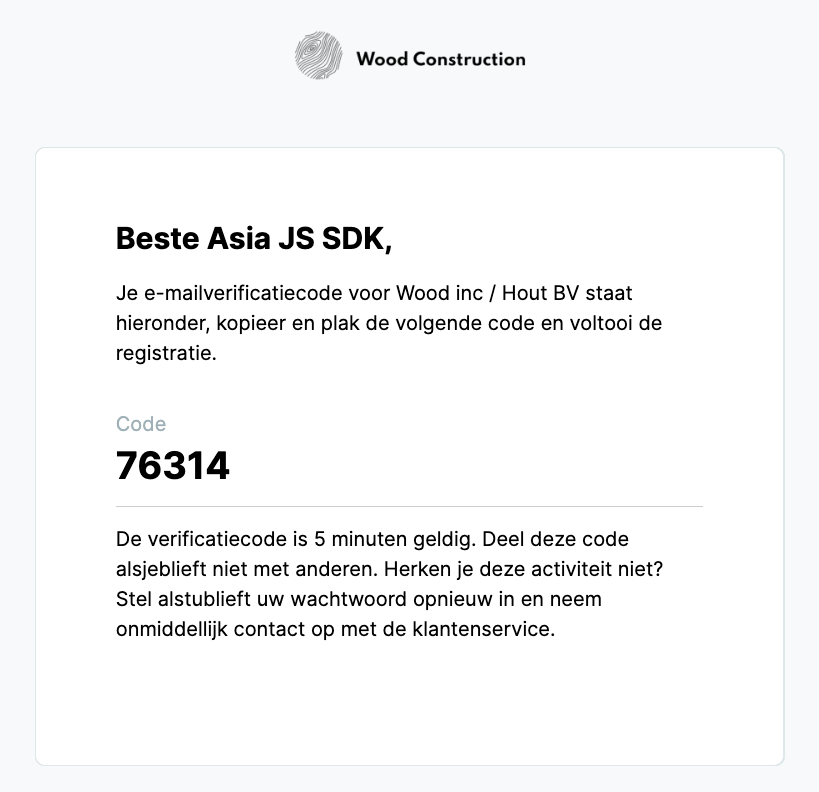
Example of the email with the OTP code (language is used based on the selected country).
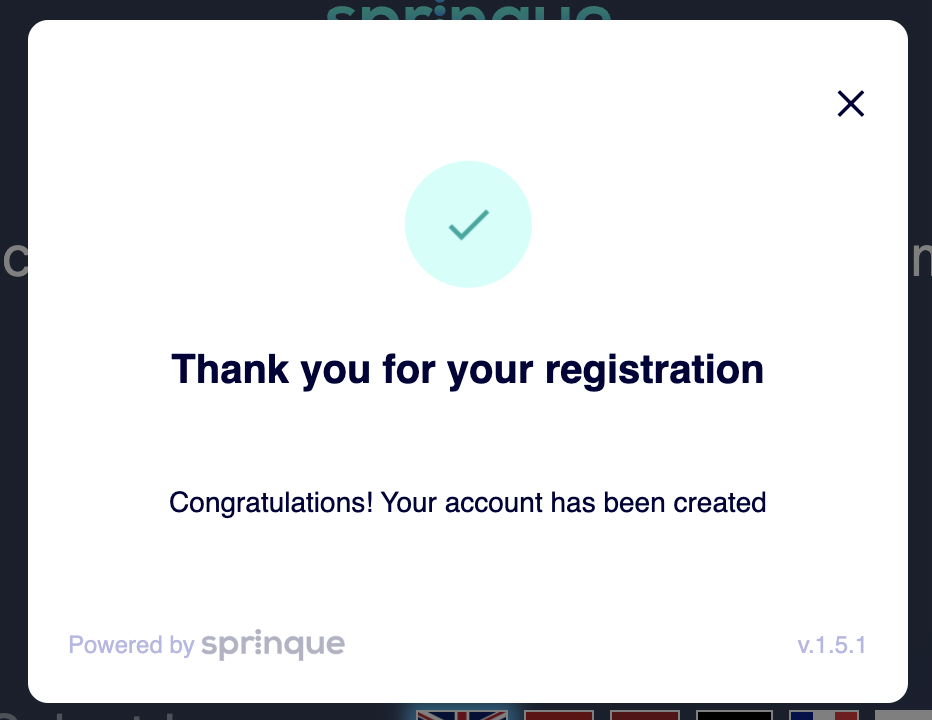
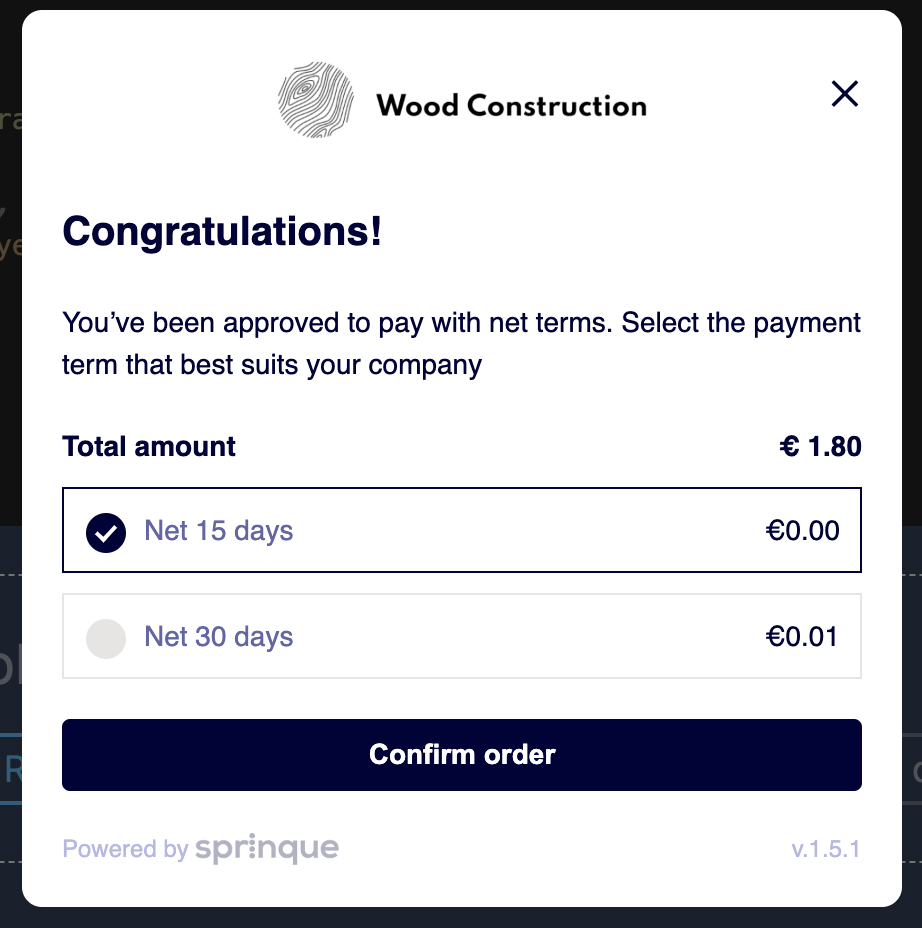
Success screen
If the buyer business is onboarded with Sprinque, we display the next screen.
But you can pass and execute a custom callback function.
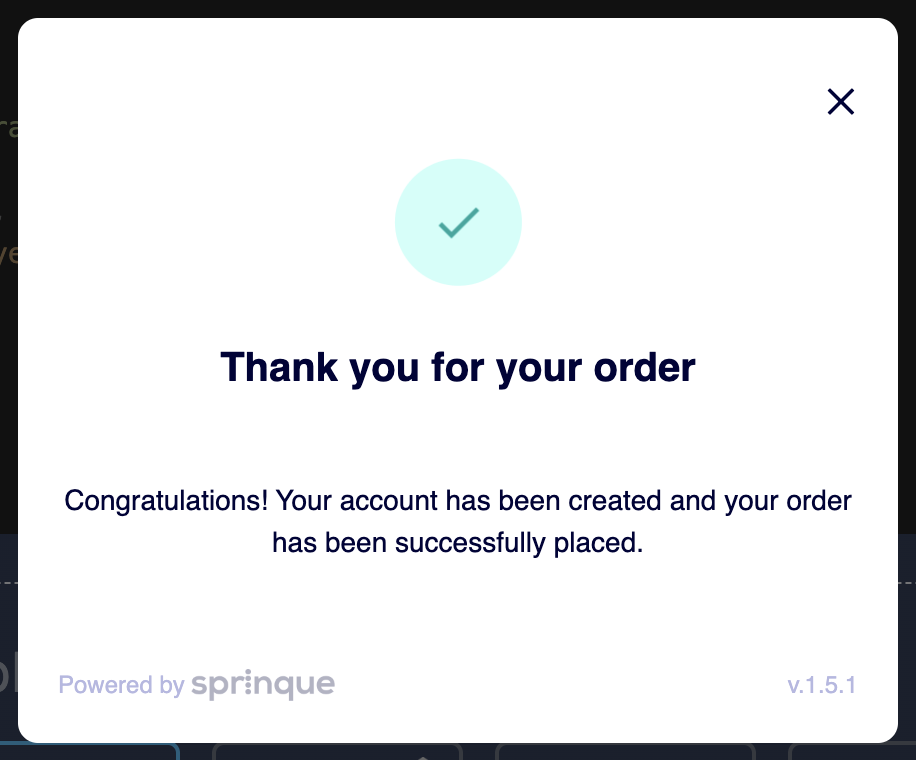
Order
Passing an order object data when opening the Merchant SDK will lead to order creation if the buyer is approved.
Then you will be able to see the order in MCC:

Returning user
For returning buyers just pass Sprinque buyerId to go directly to the order creation step and success screen.
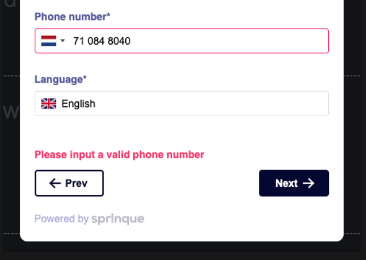
Validation
If some of the required fields are not filled we show an error and highlight the input
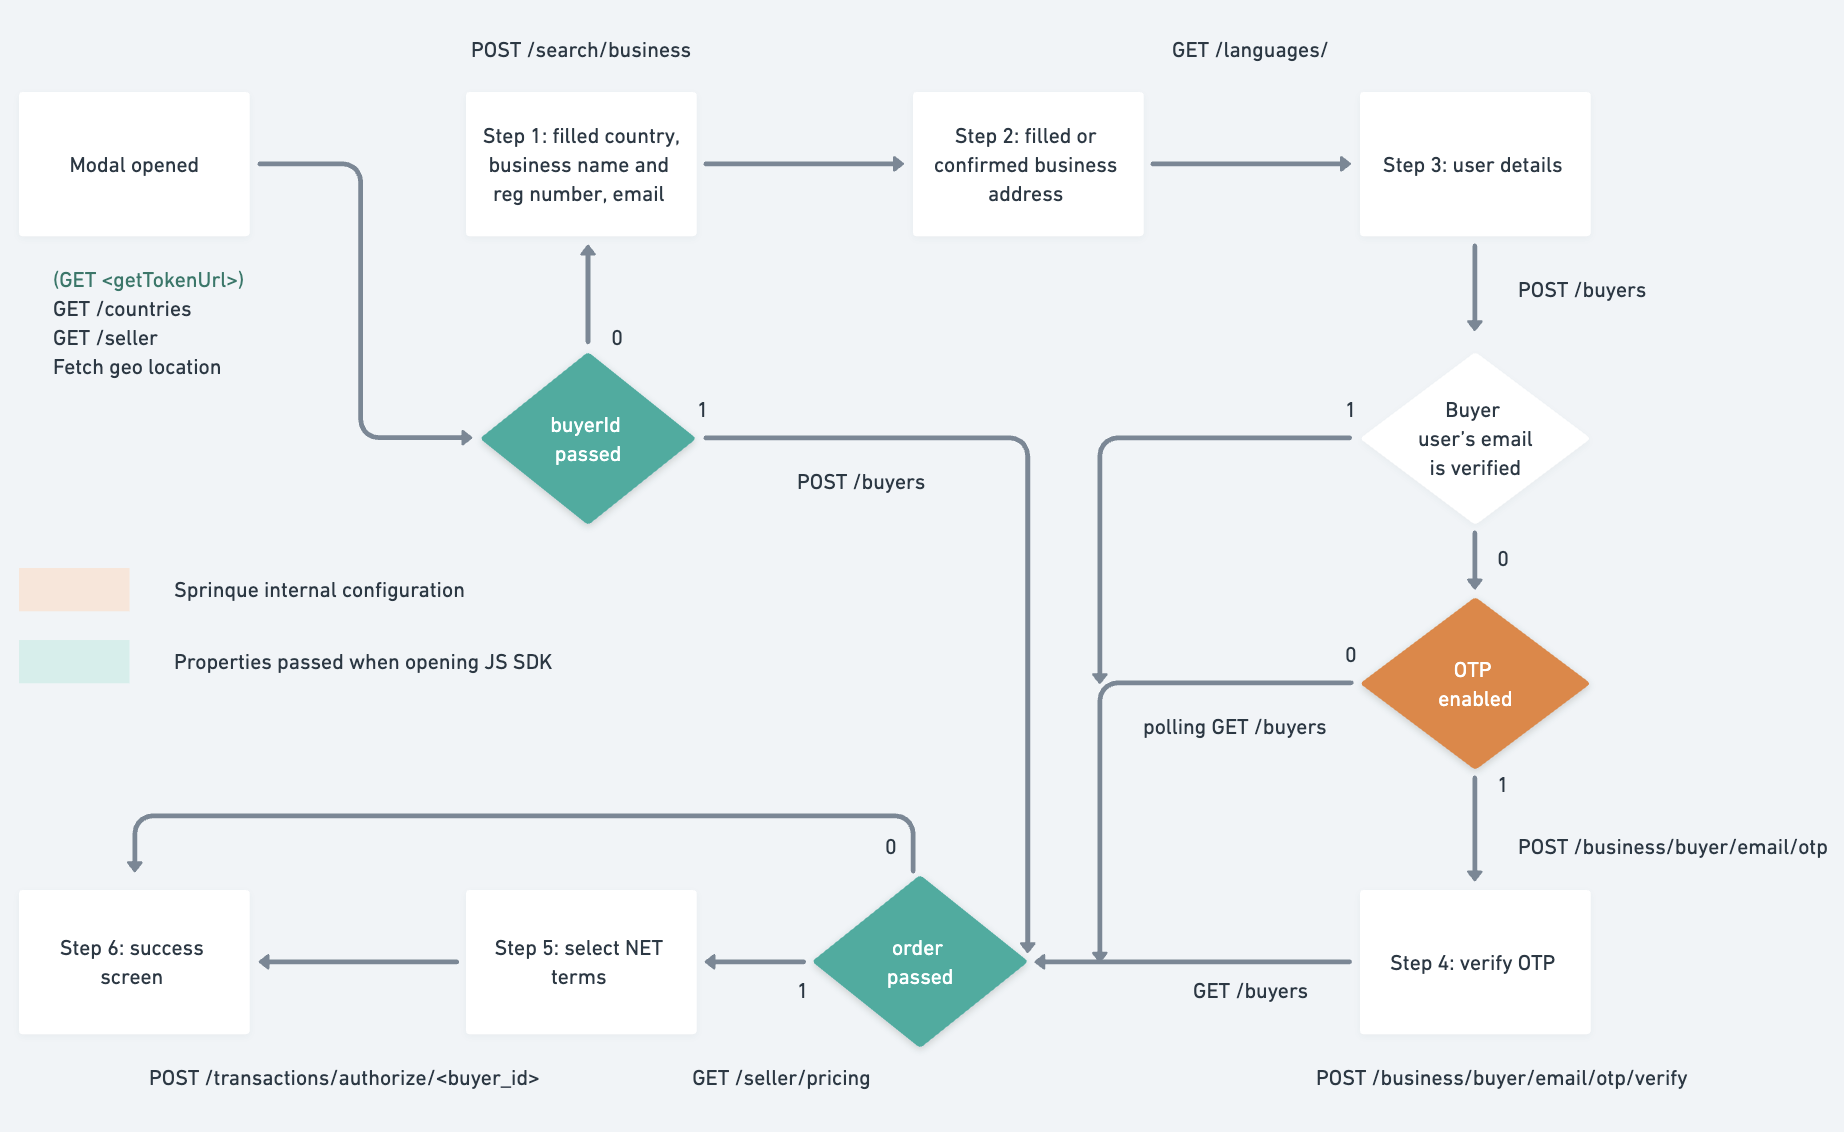
Flow chart
Updated 7 months ago